DIY Henna: How to Create Beautiful Designs at Home
Introduction to DIY Henna
Henna has been used for centuries as a natural dye to create stunning body art. Whether you're preparing for a festival, a wedding, or simply want to try something new, creating henna designs at home can be a fun and rewarding experience. In this guide, we'll walk you through the essentials of DIY henna to help you get started.
Before you dive into creating beautiful designs, it's important to understand the basics. Henna is derived from the leaves of the henna plant, which are dried and ground into a fine powder. When mixed with water, lemon juice, or essential oils, it forms a paste that can be applied to the skin.
Gathering Your Supplies
To create henna designs at home, you'll need a few essential supplies. Here's a quick list to get you started:
- Henna powder
- Lemon juice or water
- Sugar (optional, for consistency)
- Essential oils (such as eucalyptus or lavender)
- Applicator bottle or cone
- Gloves
Make sure you purchase high-quality henna powder from a reputable source to ensure safe and vibrant results. You can find these supplies at specialty stores or online.

Mixing Your Henna Paste
Creating the perfect henna paste is crucial for achieving beautiful designs. Follow these steps to mix your henna:
- Sift the henna powder to remove any large particles.
- In a bowl, combine the sifted henna powder with lemon juice until it forms a smooth paste.
- Add sugar and essential oils to enhance the color and consistency.
- Cover the bowl with plastic wrap and let it sit for 6-12 hours to allow the dye to release.
Once your paste is ready, transfer it to an applicator bottle or cone for easy application.
Creating Your Design
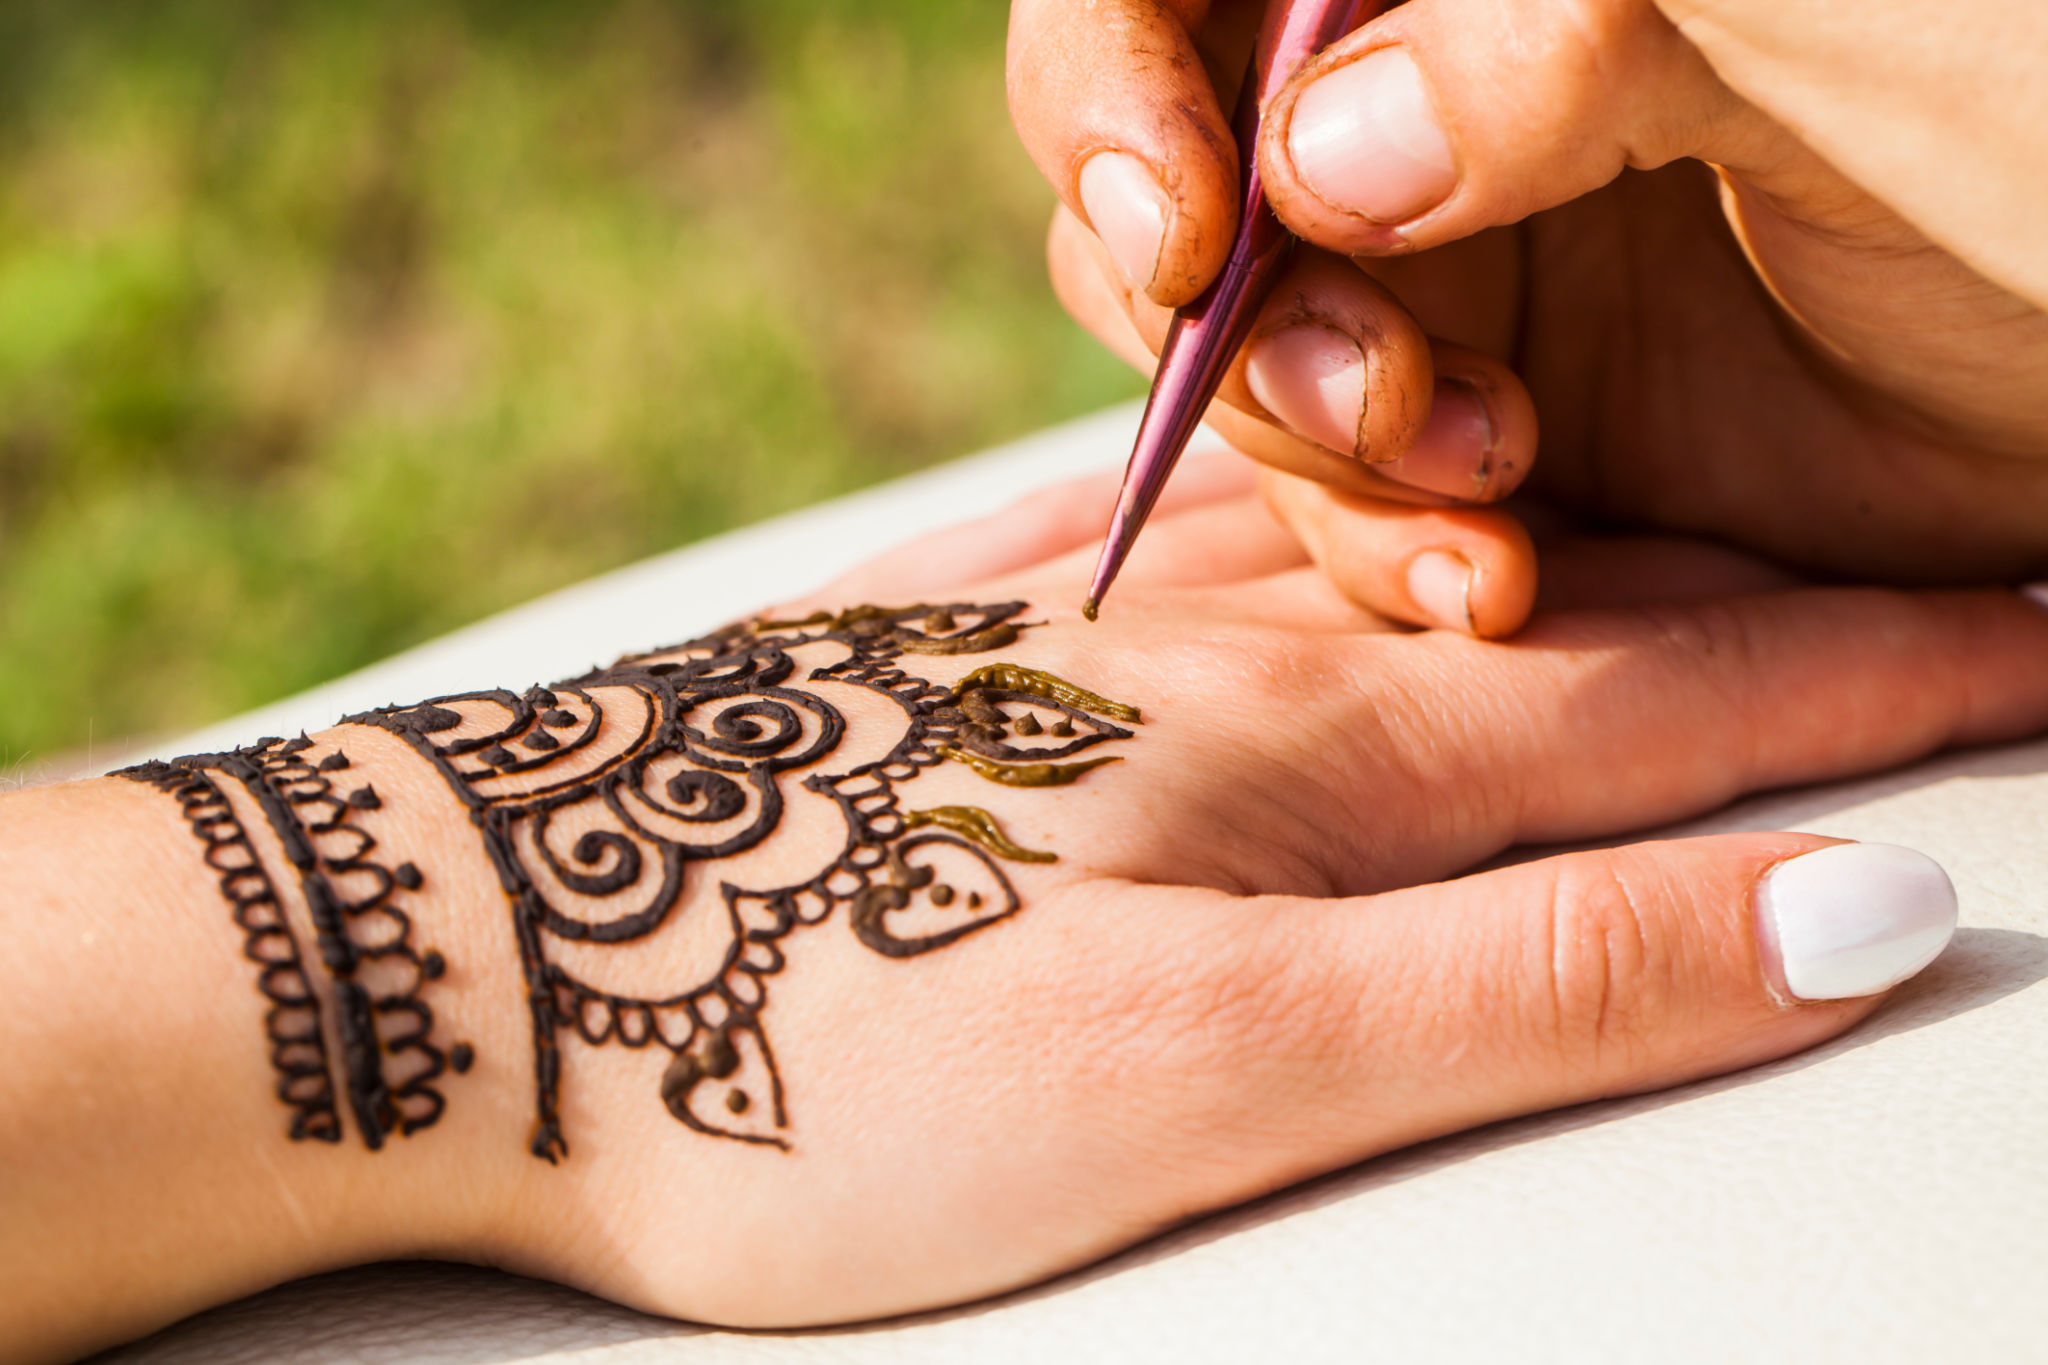
Now comes the fun part—creating your design! Start by practicing on paper or small areas of your skin. Simple patterns like dots, lines, and flowers are great for beginners. As you gain confidence, you can explore more intricate designs.
When applying henna, ensure your skin is clean and free of oils. This helps the henna adhere better and results in a darker stain. Move steadily and apply even pressure to maintain consistent lines and details.

Caring for Your Henna Design
After applying your henna design, it's important to care for it properly to achieve the best results. Here are some tips:
- Let the henna dry for several hours, ideally overnight.
- Avoid washing the area with water during the initial hours.
- Wrap the area with tissue or plastic wrap to keep it warm and moist.
- Scrape off the dried henna paste gently once it's fully set.
The stain will initially appear light orange but will darken over the next 24-48 hours. The final color will depend on factors such as your skin type and how long you leave it on.

Conclusion
Creating DIY henna designs at home is a wonderful way to express your creativity and enjoy this ancient art form. With practice and patience, you'll be able to craft intricate and stunning designs. Remember to experiment with different patterns and techniques to find what works best for you. Enjoy the process and embrace the beauty of henna art!