DIY Henna Designs: A Step-by-Step Guide for Beginners


Henna, a natural dye made from the Lawsonia inermis plant, has been used for centuries to create intricate body art. Whether for a special occasion or just for fun, learning to apply henna designs can be a rewarding experience. This guide will walk you through the basics, making it easy for beginners to create beautiful henna art at home.
Getting Started with Henna
Before you begin, it's essential to gather the right materials. You'll need henna paste, which you can purchase pre-made or make yourself using henna powder, lemon juice, sugar, and essential oils. Additionally, grab some applicator cones or bottles to help you draw precise lines.

Next, choose a workspace with good lighting and lay down a towel or plastic sheet to catch any spills. It's also helpful to have a damp cloth nearby for quick clean-ups. Once you're set up, you're ready to start creating your first design.
Preparing Your Skin
Proper skin preparation is crucial for achieving the best results. Begin by washing the area where you'll apply the henna with soap and water to remove any oils or lotions. Dry your skin thoroughly before proceeding.
To help the henna adhere better, you can apply a small amount of eucalyptus or lavender oil to the area. This step is optional but can enhance the color and longevity of your design.

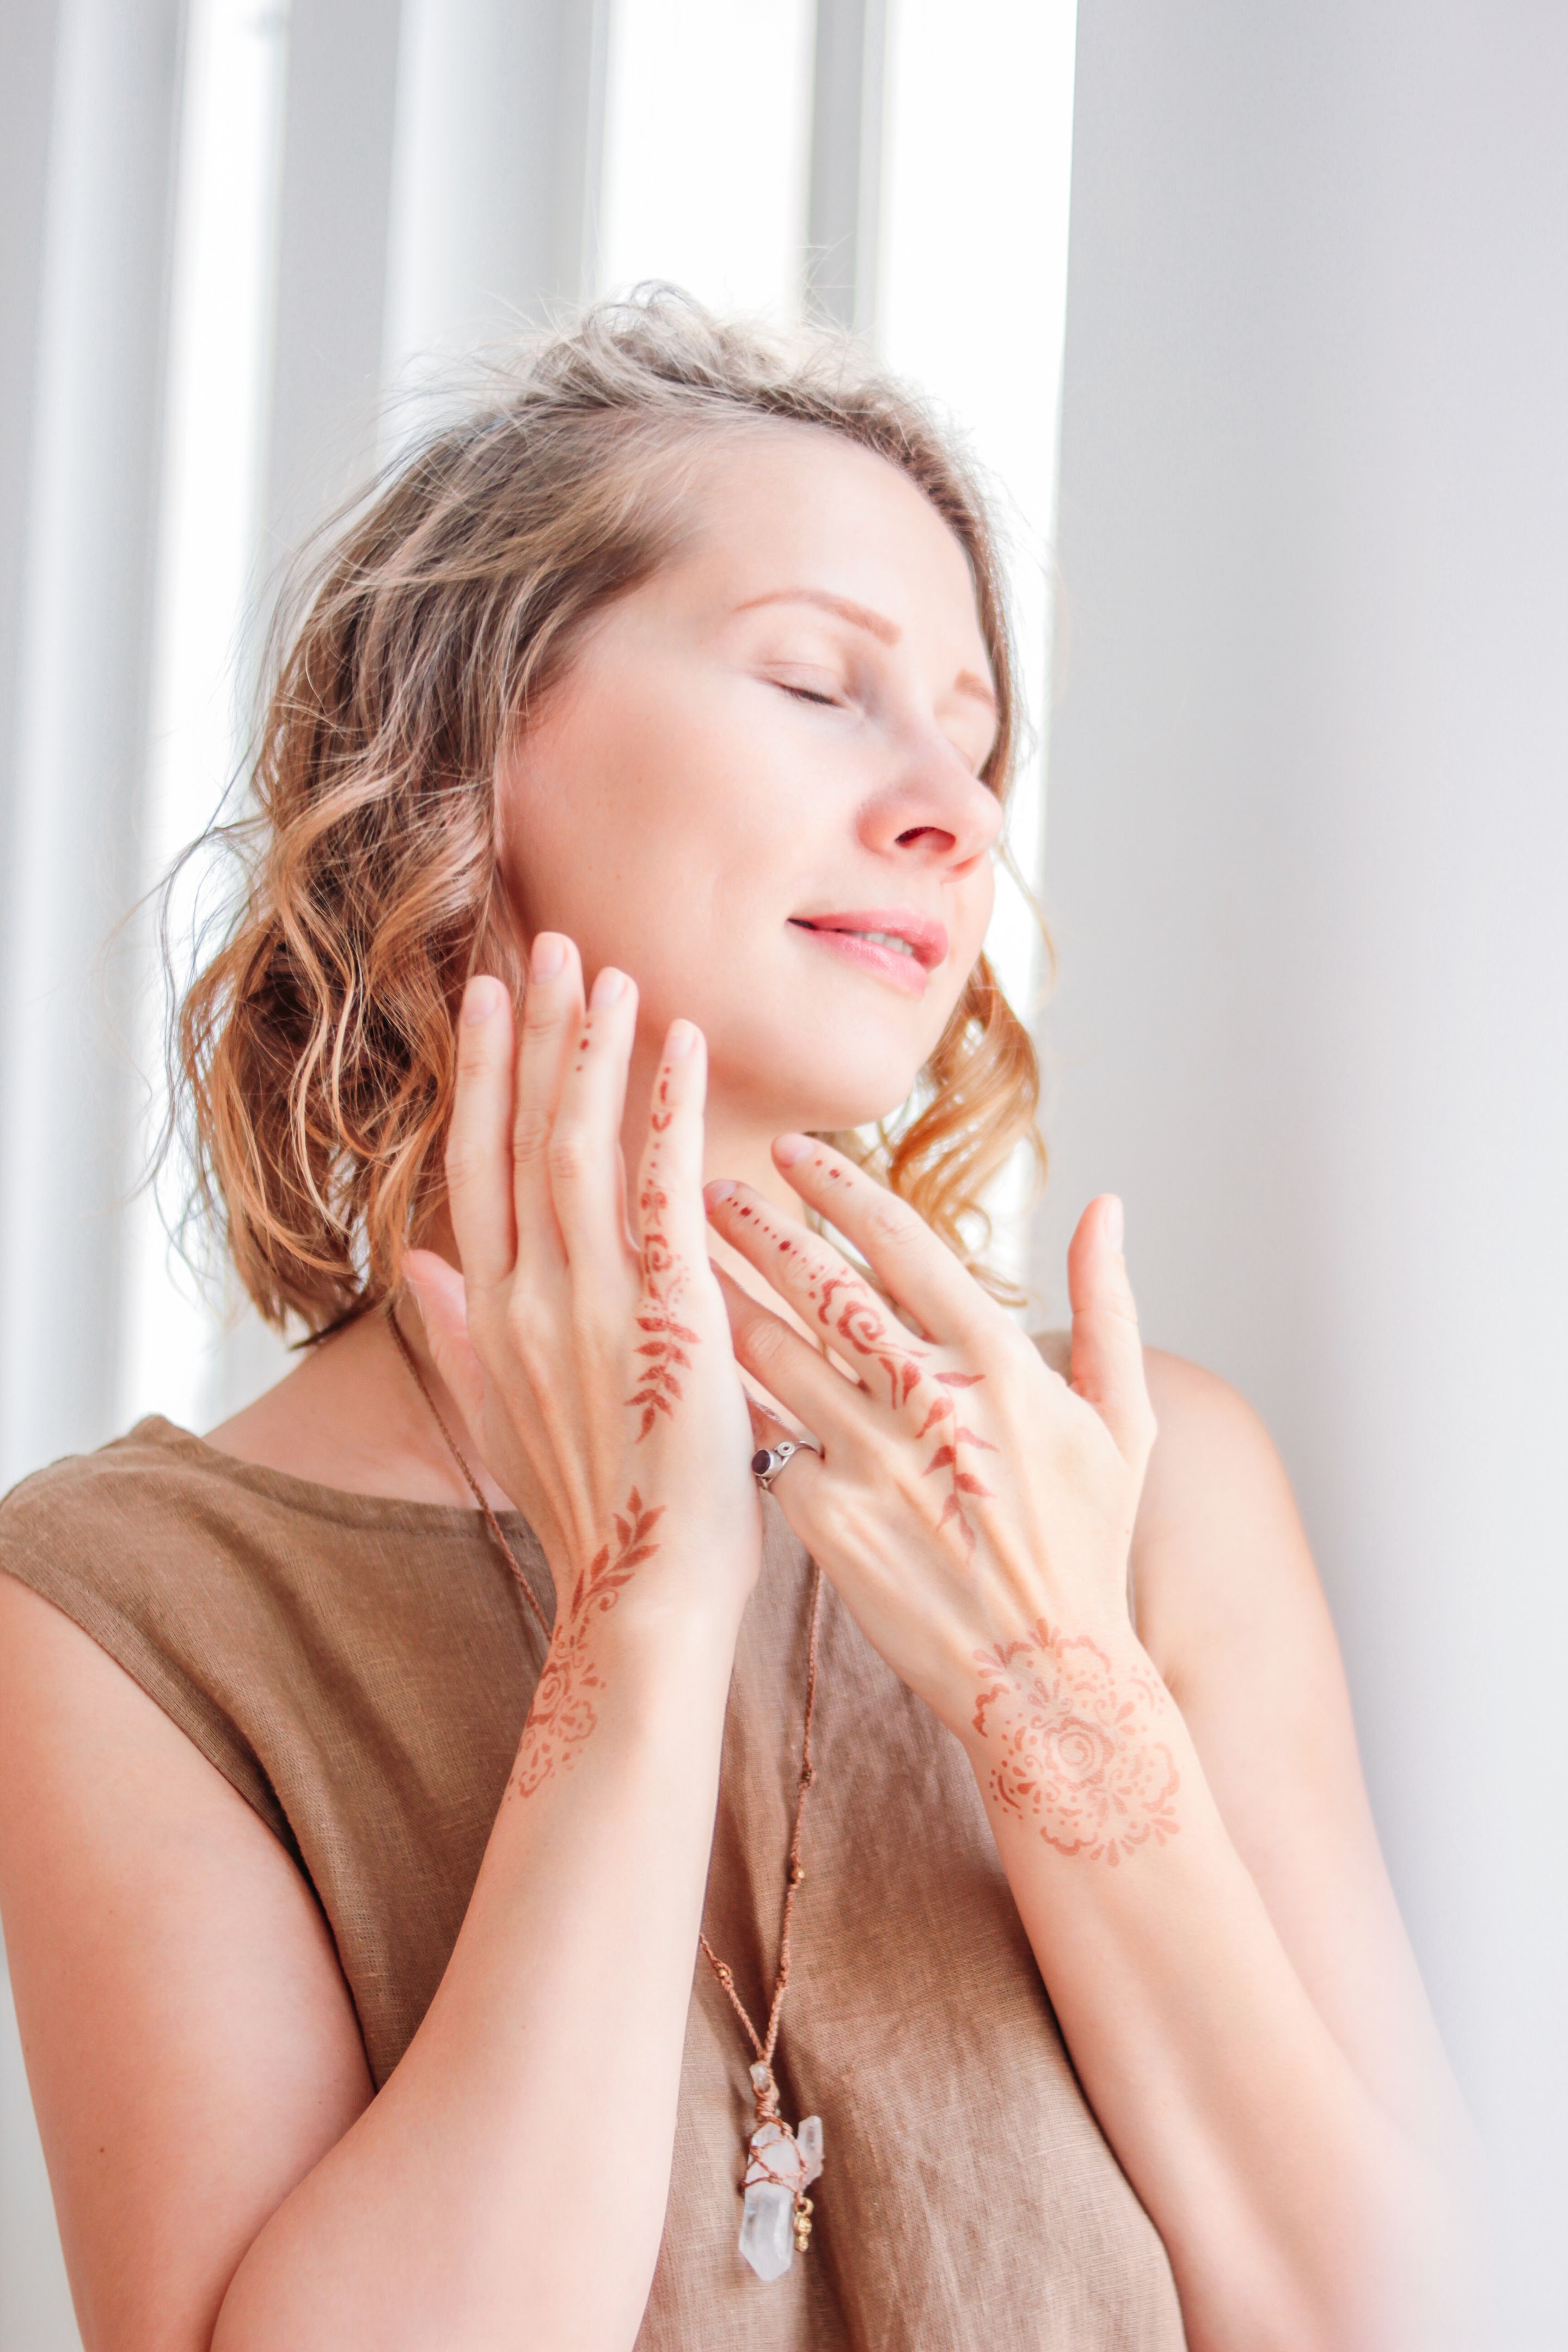
Basic Henna Designs
When starting, it's best to begin with simple patterns. Common beginner designs include flowers, vines, and geometric shapes. Practice drawing these patterns on paper first to get a feel for the flow and pressure needed when using the applicator.
Creating Your Design
Once you're comfortable, start applying the henna to your skin. Hold the applicator like a pencil, and gently squeeze as you draw. Begin with the outline of your design, then fill in the details. Remember, henna is forgiving—mistakes can often be fixed with a damp cloth.
Let the henna dry completely, which can take anywhere from 30 minutes to a few hours, depending on the thickness of the application. The longer it stays on, the darker the stain will be.
Aftercare Tips
Once the henna is dry, gently scrape it off using a spoon or your fingers. Avoid using water during this process, as it can interfere with the stain. To deepen the color, apply a mixture of sugar and lemon juice to the design and leave it on for several hours or overnight.
Finally, keep your henna design moisturized with natural oils like coconut or olive oil. This will help preserve the design and prevent it from fading too quickly.
Experiment and Enjoy
As you become more comfortable with applying henna, experiment with different styles and patterns. Try incorporating cultural designs or creating your own unique motifs. The possibilities are endless, and each design is a personal expression of art.
Remember, practice makes perfect, so don't be discouraged by initial attempts. With time and patience, you'll be creating stunning henna designs that you'll be proud to show off.