DIY Henna Designs: How to Create Beautiful Patterns at Home


Henna designs have been a cherished art form across various cultures for centuries. Creating your own henna patterns at home can be a fulfilling and creative experience. Whether you're preparing for a special occasion or simply exploring a new hobby, DIY henna designs can be both fun and rewarding.
Getting Started with Henna
Before you begin your henna journey, it's essential to gather the right materials. You will need henna powder, lemon juice, sugar, and essential oils like eucalyptus or lavender. These ingredients help create a smooth, lasting paste that delivers rich color.
Mixing your henna paste is a critical step. Combine the henna powder with lemon juice and let it rest for a few hours to release the dye. Add sugar and essential oils for better consistency and fragrance. Your paste should be smooth and free of lumps for the best application.

Basic Techniques for Henna Application
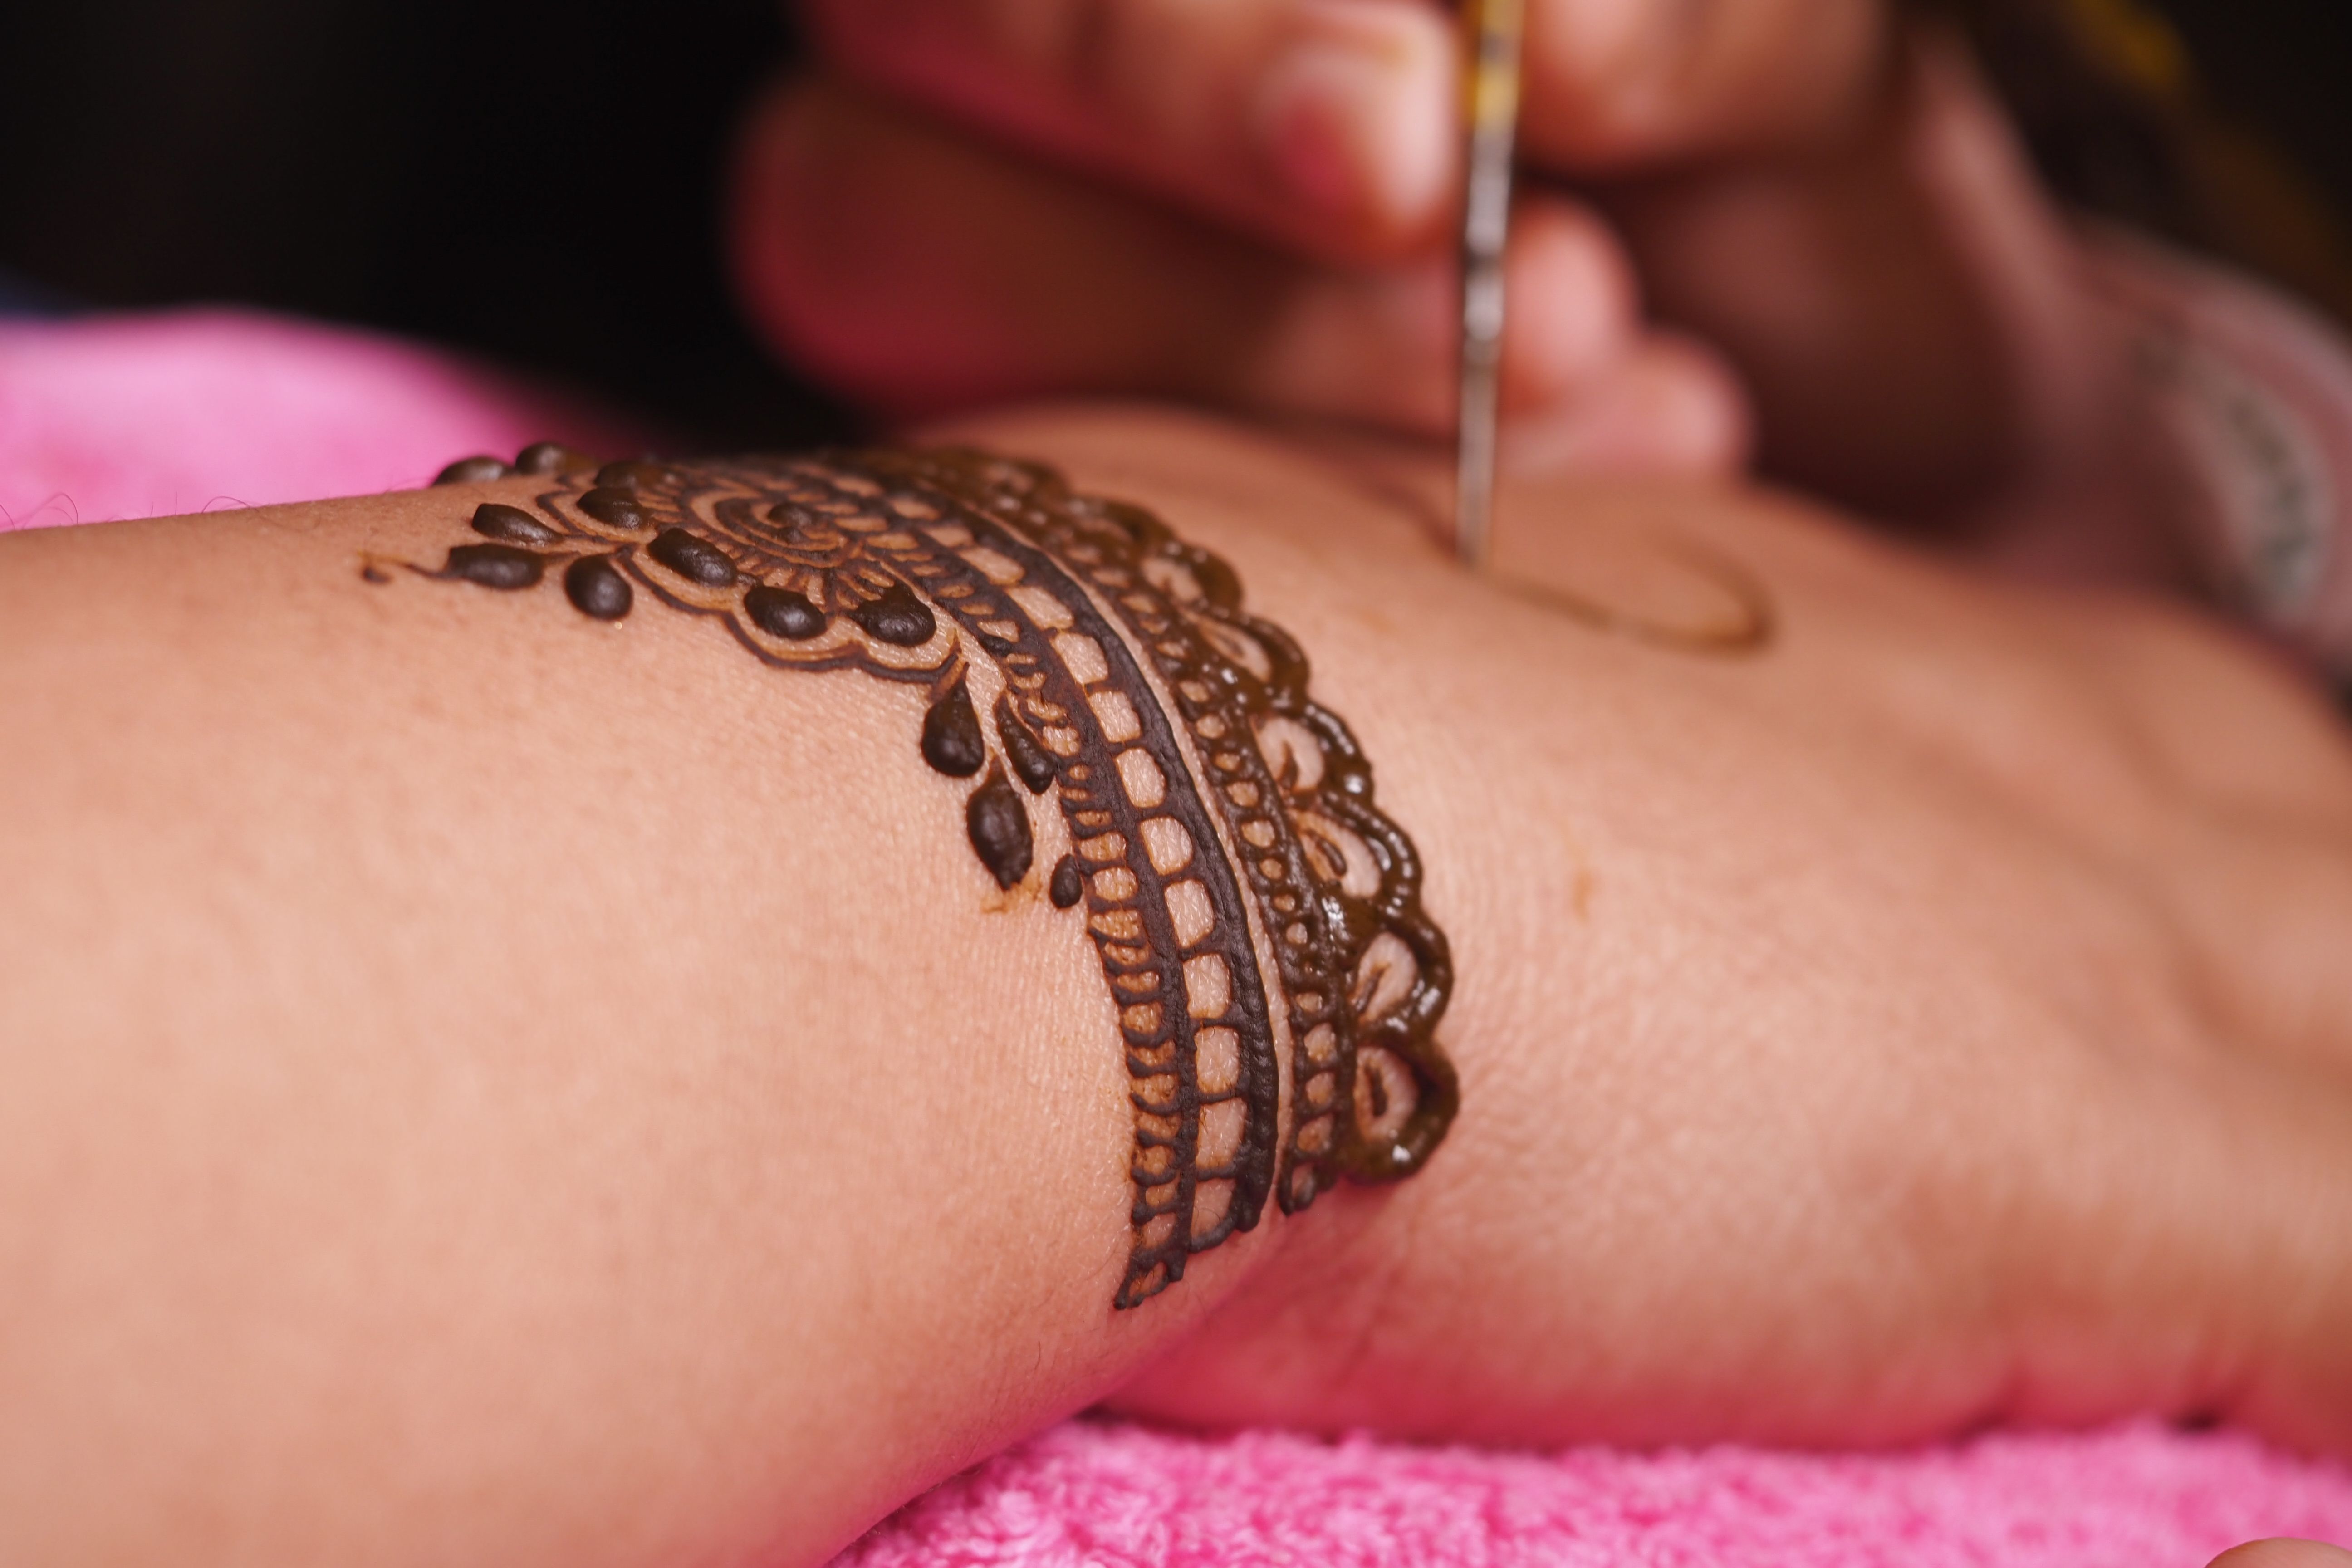
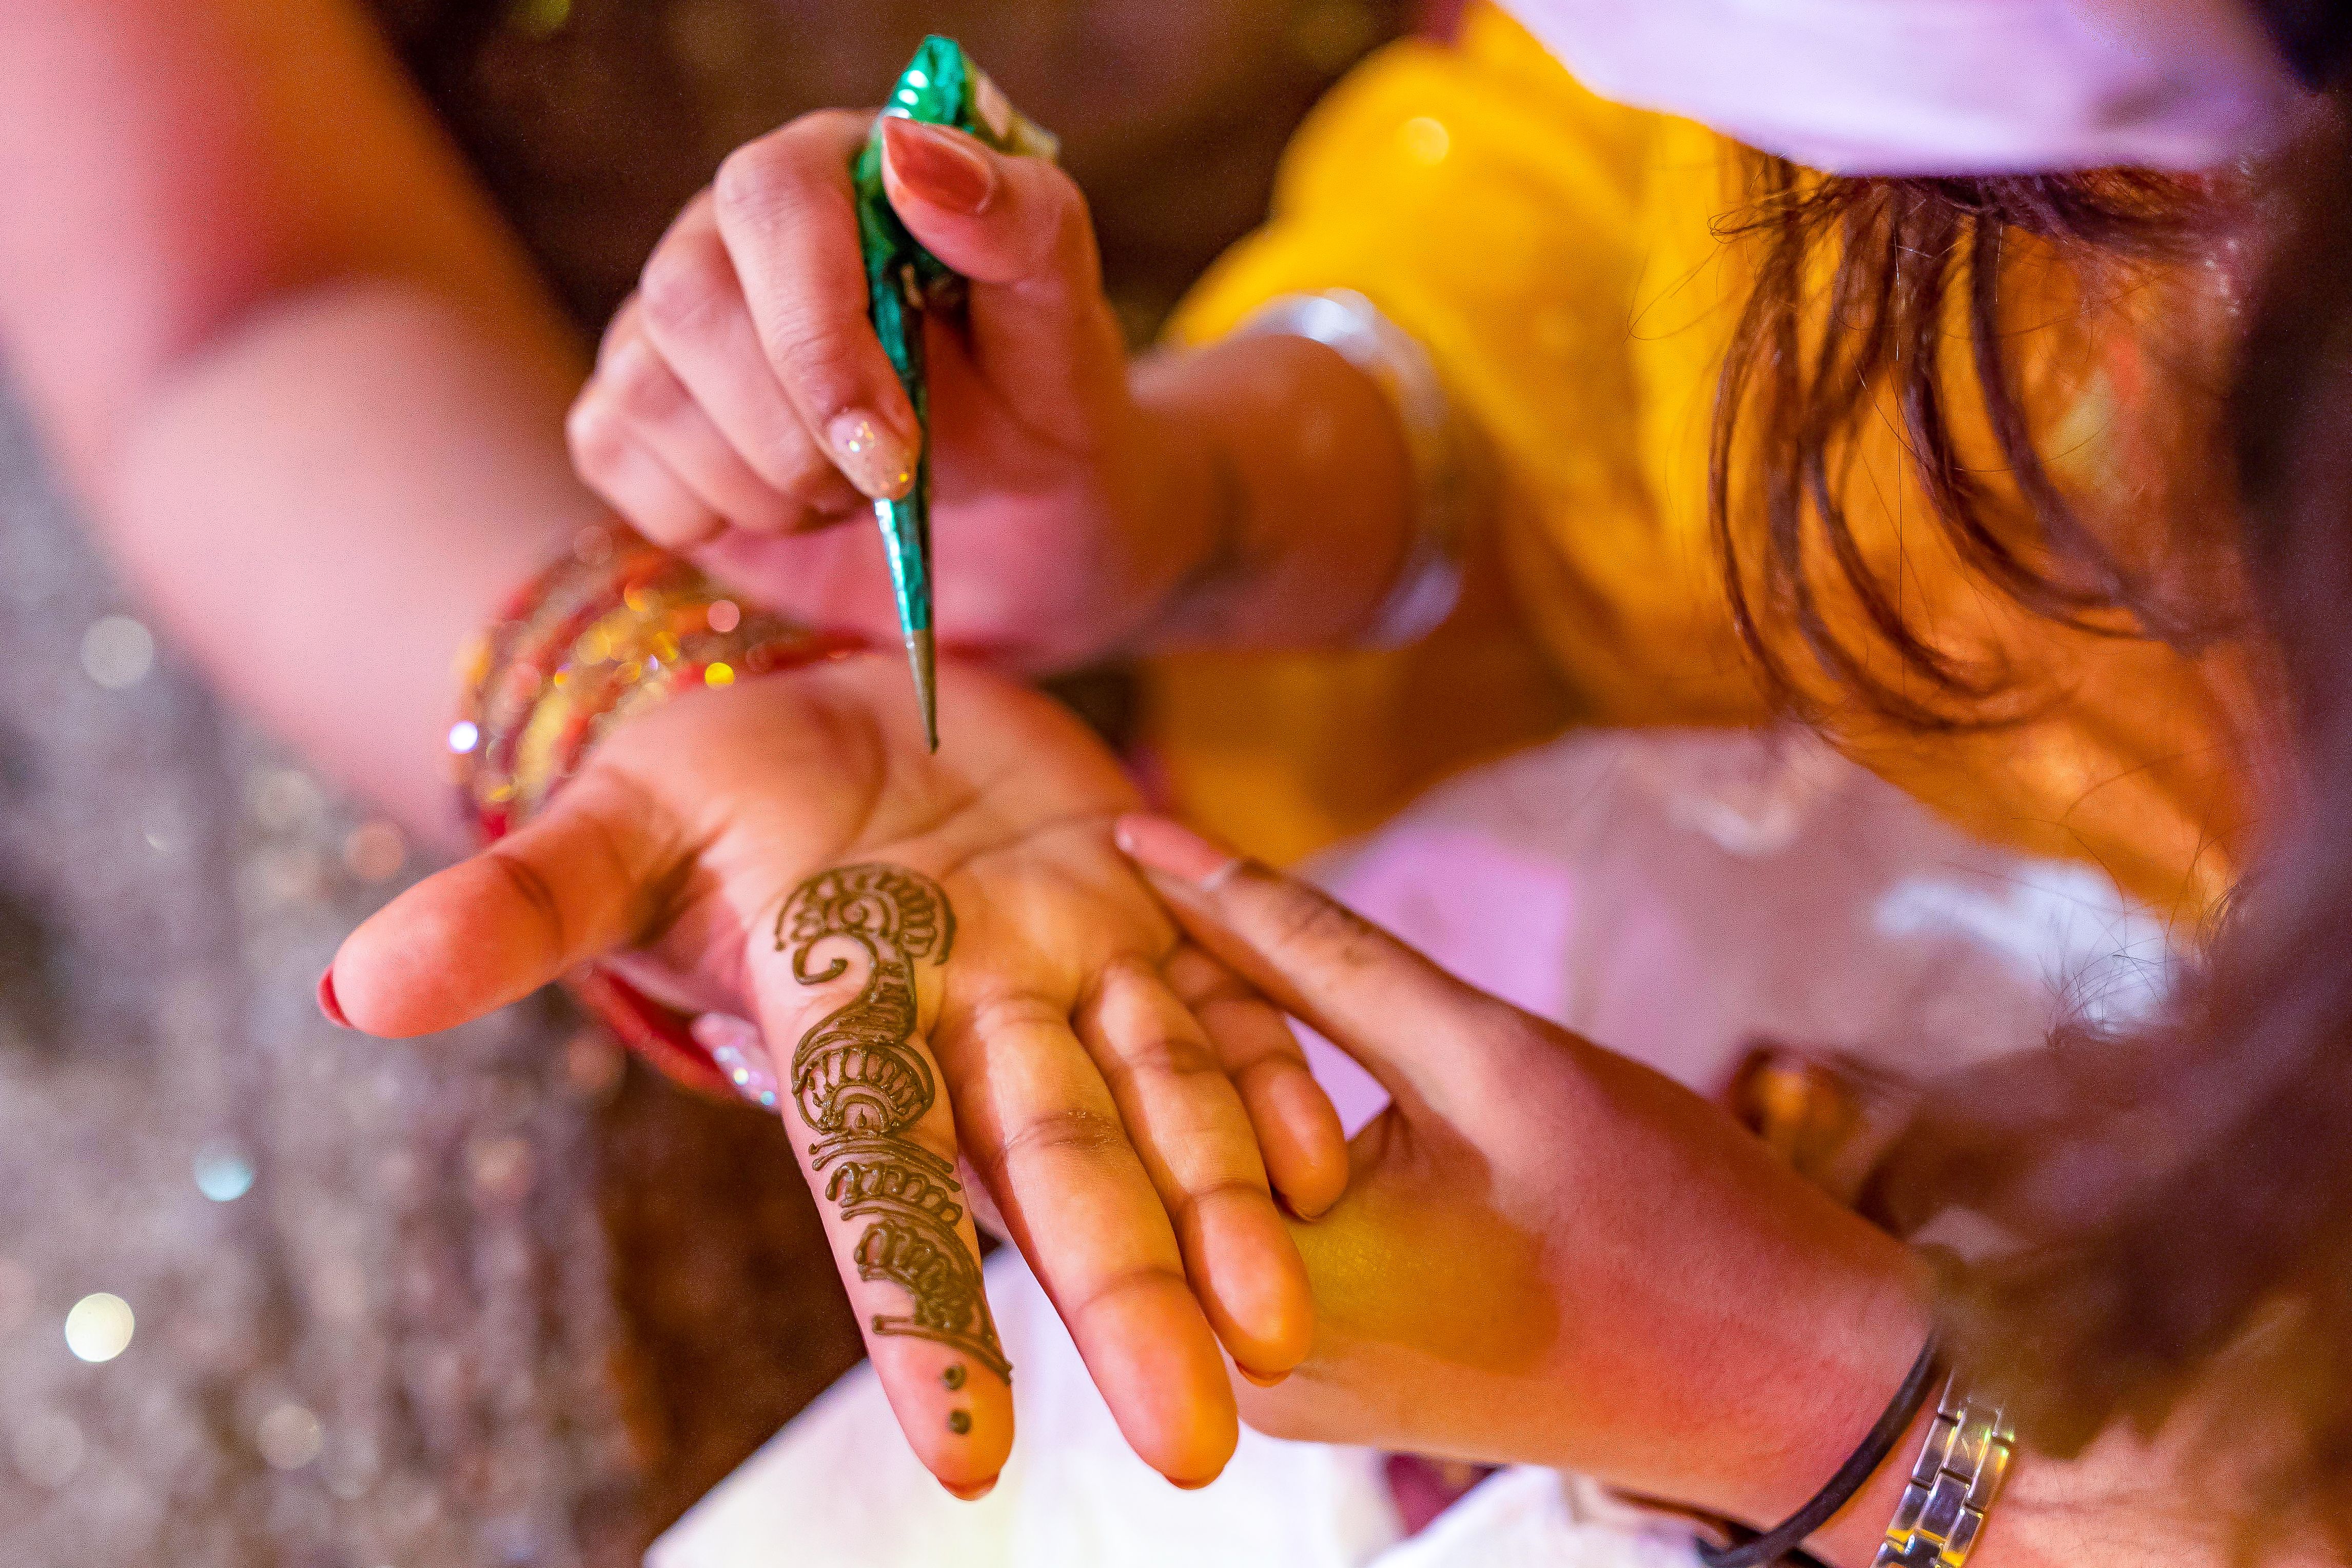
Applying henna requires a steady hand and patience. Start by practicing basic shapes like dots, lines, and spirals on paper. Once you feel confident, transfer these designs onto your skin.
Use a cone or applicator bottle for precise control. Begin with simple patterns, gradually working up to more intricate designs as your skills improve. Remember, practice is key to mastering the art of henna.
Design Inspirations
Henna designs can range from traditional to contemporary. Popular motifs include flowers, paisleys, and geometric shapes. Look for inspiration in nature, textiles, and cultural art forms.
Consider creating themed designs for different occasions. For example, floral patterns are perfect for weddings, while geometric designs suit festivals and casual gatherings.

Caring for Your Henna Design
After applying your henna, it's important to let it dry completely. Keep the paste on for several hours or overnight for the best color. Once it's dry, gently remove the paste to reveal a bright orange stain that will darken over the next 48 hours.
To maintain your henna design, avoid water contact for the first 24 hours. Moisturize the area with natural oils like coconut or olive oil to preserve the color and extend its lifespan.
Benefits of DIY Henna
Creating your own henna designs allows for a personal and customizable experience. You can experiment with different styles and patterns, making each design unique. Plus, it's a relaxing and meditative activity that can be enjoyed solo or with friends.
By making your own henna, you also have control over the ingredients, ensuring a natural and safe product free from harsh chemicals.
Embarking on a DIY henna project can be a delightful way to express creativity and connect with cultural traditions. With practice and patience, you can create stunning designs that reflect your personal style. Happy henna designing!