DIY Henna Tattoos: Tips for Creating Your Own Designs at Home


Introduction to DIY Henna Tattoos
Henna tattoos are a beautiful and temporary form of body art that has been practiced for centuries in various cultures. Creating your own henna designs at home can be a fun and rewarding experience. By using natural henna paste, you can customize your designs to reflect your personal style while enjoying a unique artistic outlet.

Gathering Your Supplies
Before you begin your DIY henna tattoo journey, it's important to gather all the necessary supplies. You will need natural henna powder, lemon juice, sugar, and essential oils such as eucalyptus or lavender. These ingredients will help create a smooth paste with a pleasant aroma. Additionally, you'll need an applicator, such as a cone or fine-tipped bottle, to create intricate designs.
Preparing the Henna Paste
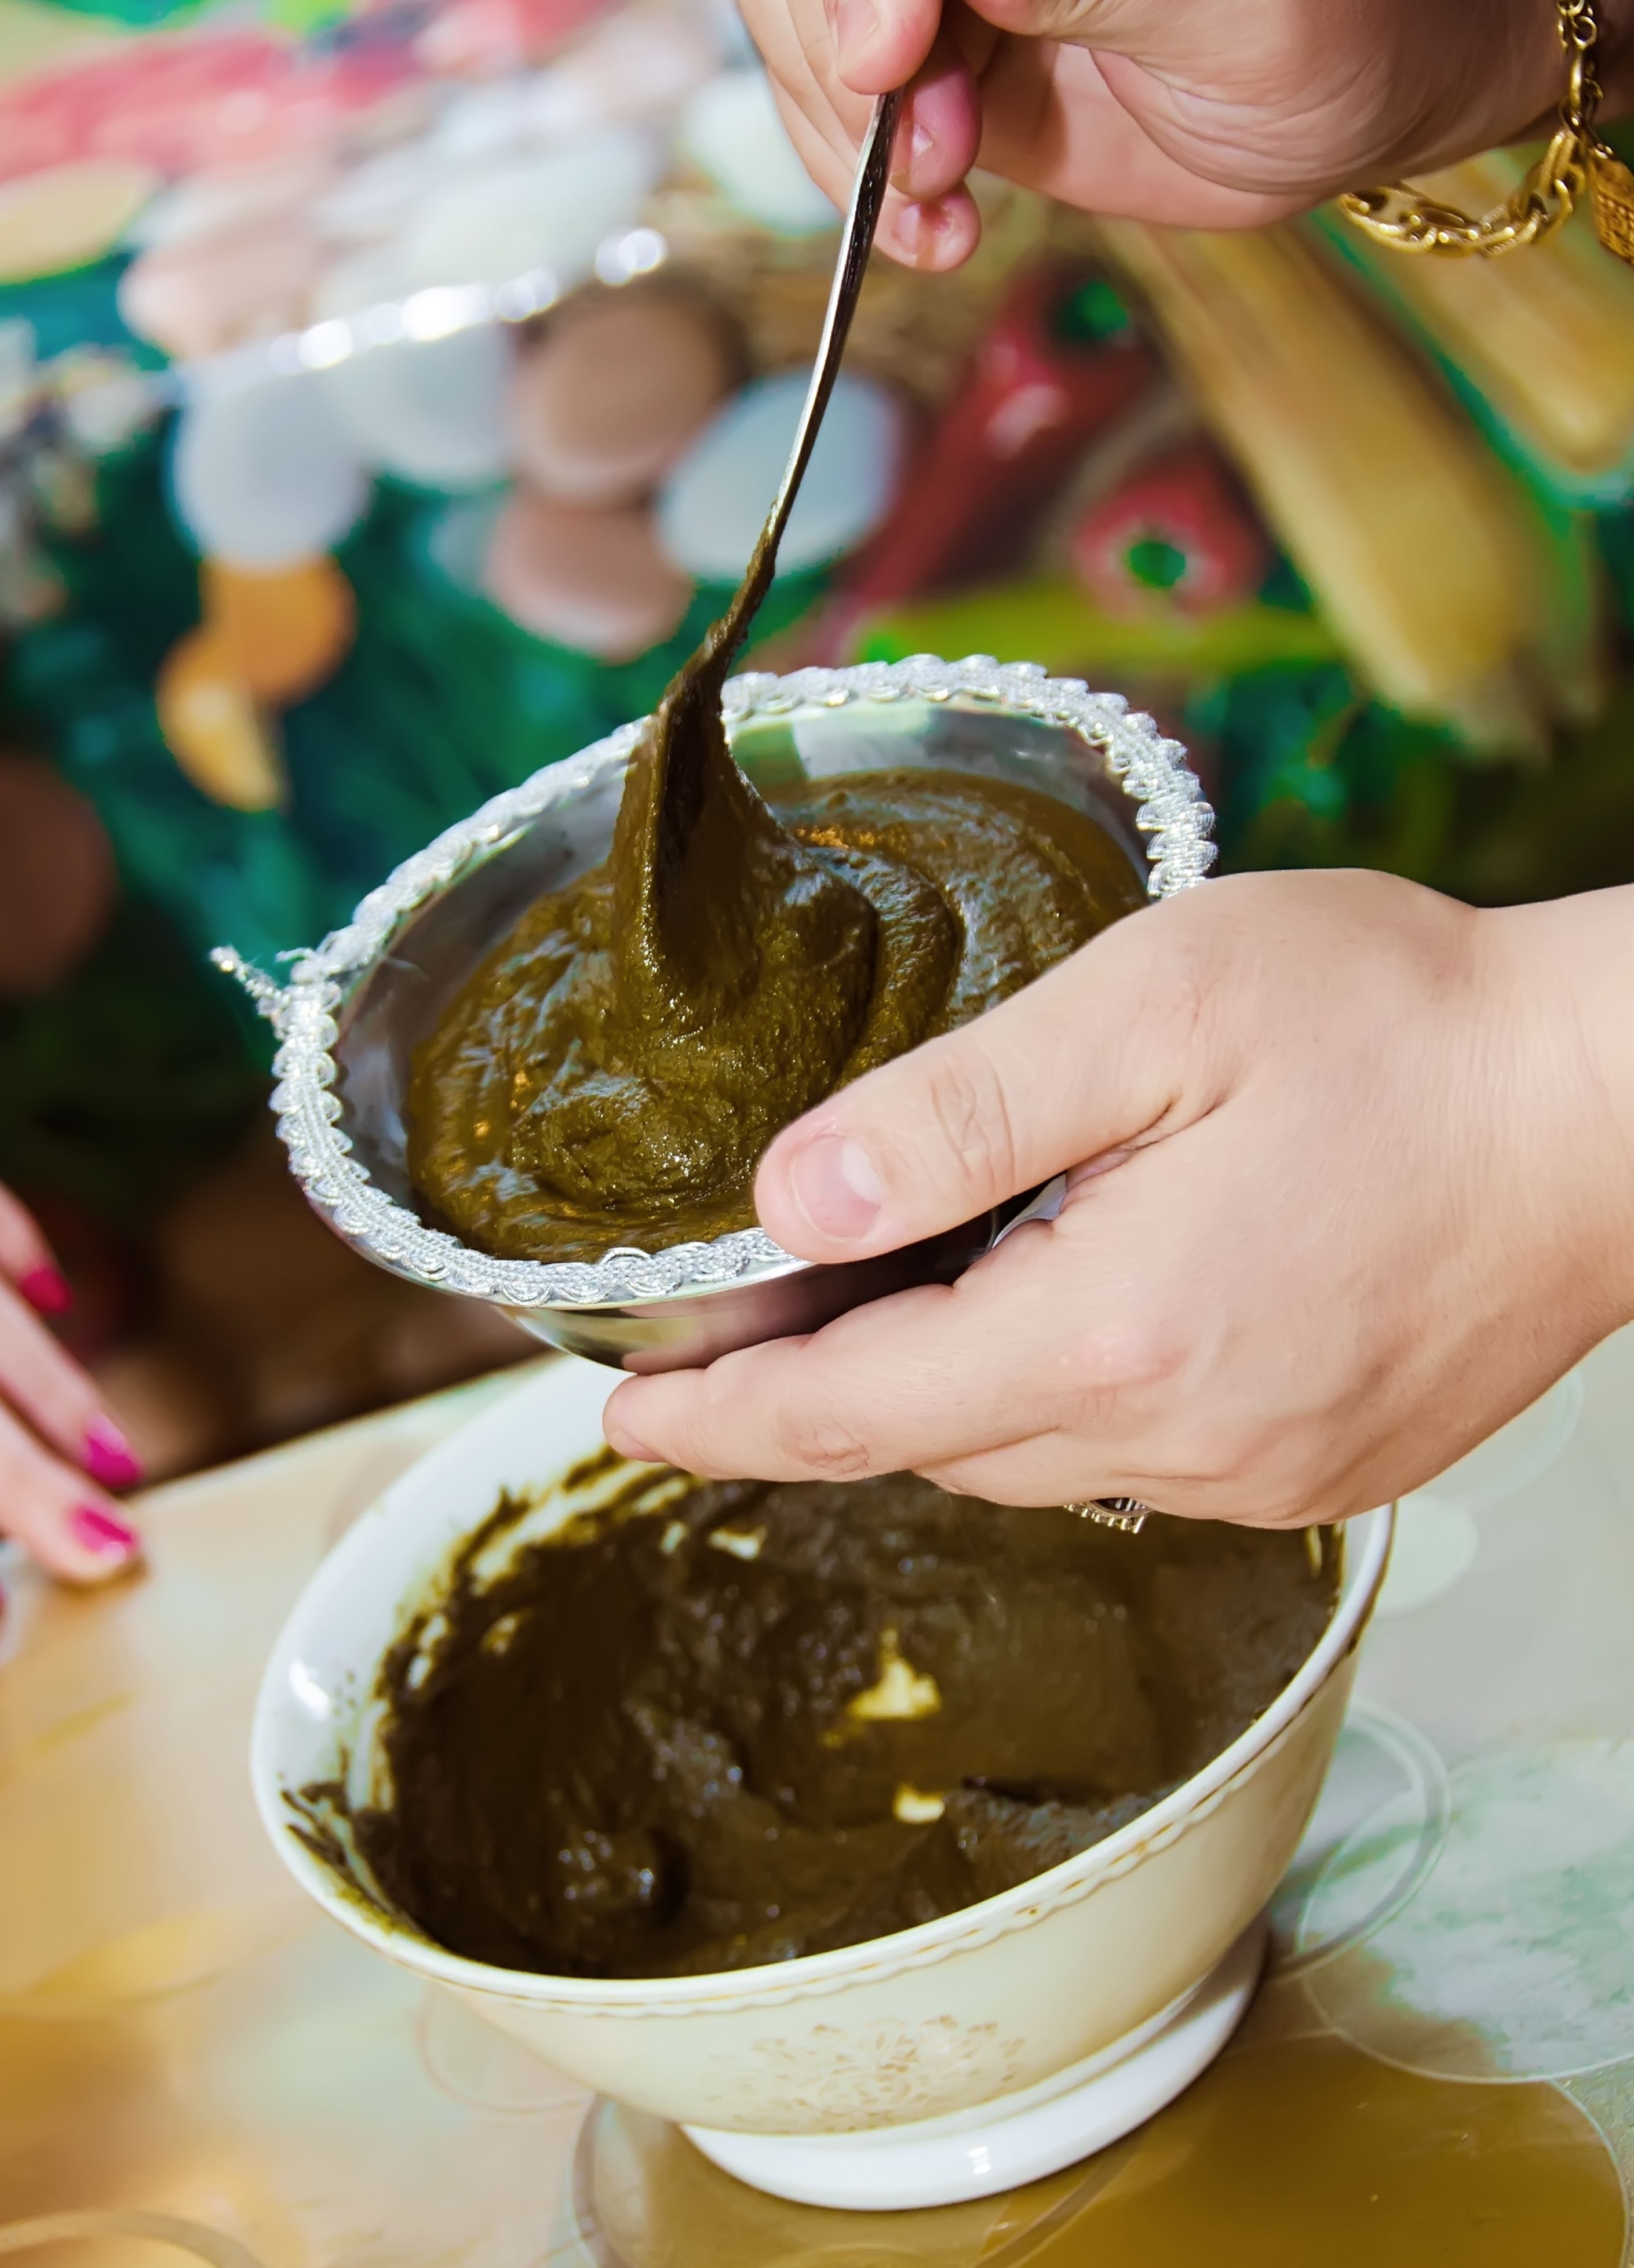
Creating the perfect henna paste is crucial for achieving beautiful designs. Start by mixing the henna powder with lemon juice until it forms a thick paste. Cover the mixture and let it sit for at least 6 to 12 hours to release the dye. Afterward, add sugar and essential oils to the paste, stirring until you reach a smooth consistency. The sugar helps the paste adhere better to the skin.
Creating Your Design
Once your paste is ready, it's time to unleash your creativity. Begin by washing the area of skin where you'll apply the henna to ensure it's clean and dry. If you're new to henna art, start with simple designs like flowers or geometric shapes. As you gain confidence, you can experiment with more intricate patterns.
Using Stencils
If freehand drawing seems daunting, consider using stencils as a guide. Stencils provide an outline that you can fill in with henna, allowing you to create detailed designs without the pressure of drawing from scratch. You can find stencils online or create your own by cutting shapes into thin plastic sheets.
Applying the Henna
When applying henna, it's important to work slowly and carefully to ensure clean lines and avoid smudges. Use your applicator to apply the paste onto your skin, starting from the center of your design and working outward. Allow each section to dry before moving on to avoid accidental smears.
Aftercare Tips
Proper aftercare is essential for achieving rich and long-lasting henna stains. Once your design is complete, let the paste dry for several hours. To deepen the color, you can seal the design with a mixture of lemon juice and sugar while it dries. Once the paste flakes off naturally, avoid washing the area with soap for the first 24 hours to allow the stain to set.
Experimenting with Different Styles
Henna art offers endless possibilities for creativity. Experiment with different styles, such as traditional Indian mehndi patterns or modern minimalist designs. You can also mix colors by adding natural ingredients like beetroot powder or tea to your paste for a unique twist on classic henna.
Conclusion
Creating DIY henna tattoos at home is a delightful way to explore your artistic talents and express yourself. With practice and patience, you can master this ancient art form and enjoy its beauty on your own skin. Whether you're preparing for a special occasion or simply indulging in some self-care, henna tattoos offer a personal and meaningful way to adorn your body.